
Natural Light Real Estate Photography: Top Tips
Natural Light Real Estate Photography Tips
In this article, we'll explore practical tips to enhance your photography skills and produce high-quality images that truly capture the essence of a property. From leveraging the best times of day for natural light to employing effective composition techniques, we'll cover everything you need to know to elevate your real estate photography. Mastering these skills can lead to more engaging and visually appealing images that resonate with potential buyers.
Natural light is one of the most important elements in real estate photography. It not only enhances the appearance of a room but also creates an inviting and warm atmosphere. Natural light has the ability to bring out true colors and textures, providing a more accurate depiction of the space than artificial lighting can offer. By utilizing natural light, you can create images that are bright, vibrant, and full of life, making them more appealing to prospective buyers.
Benefits of Using Natural Light
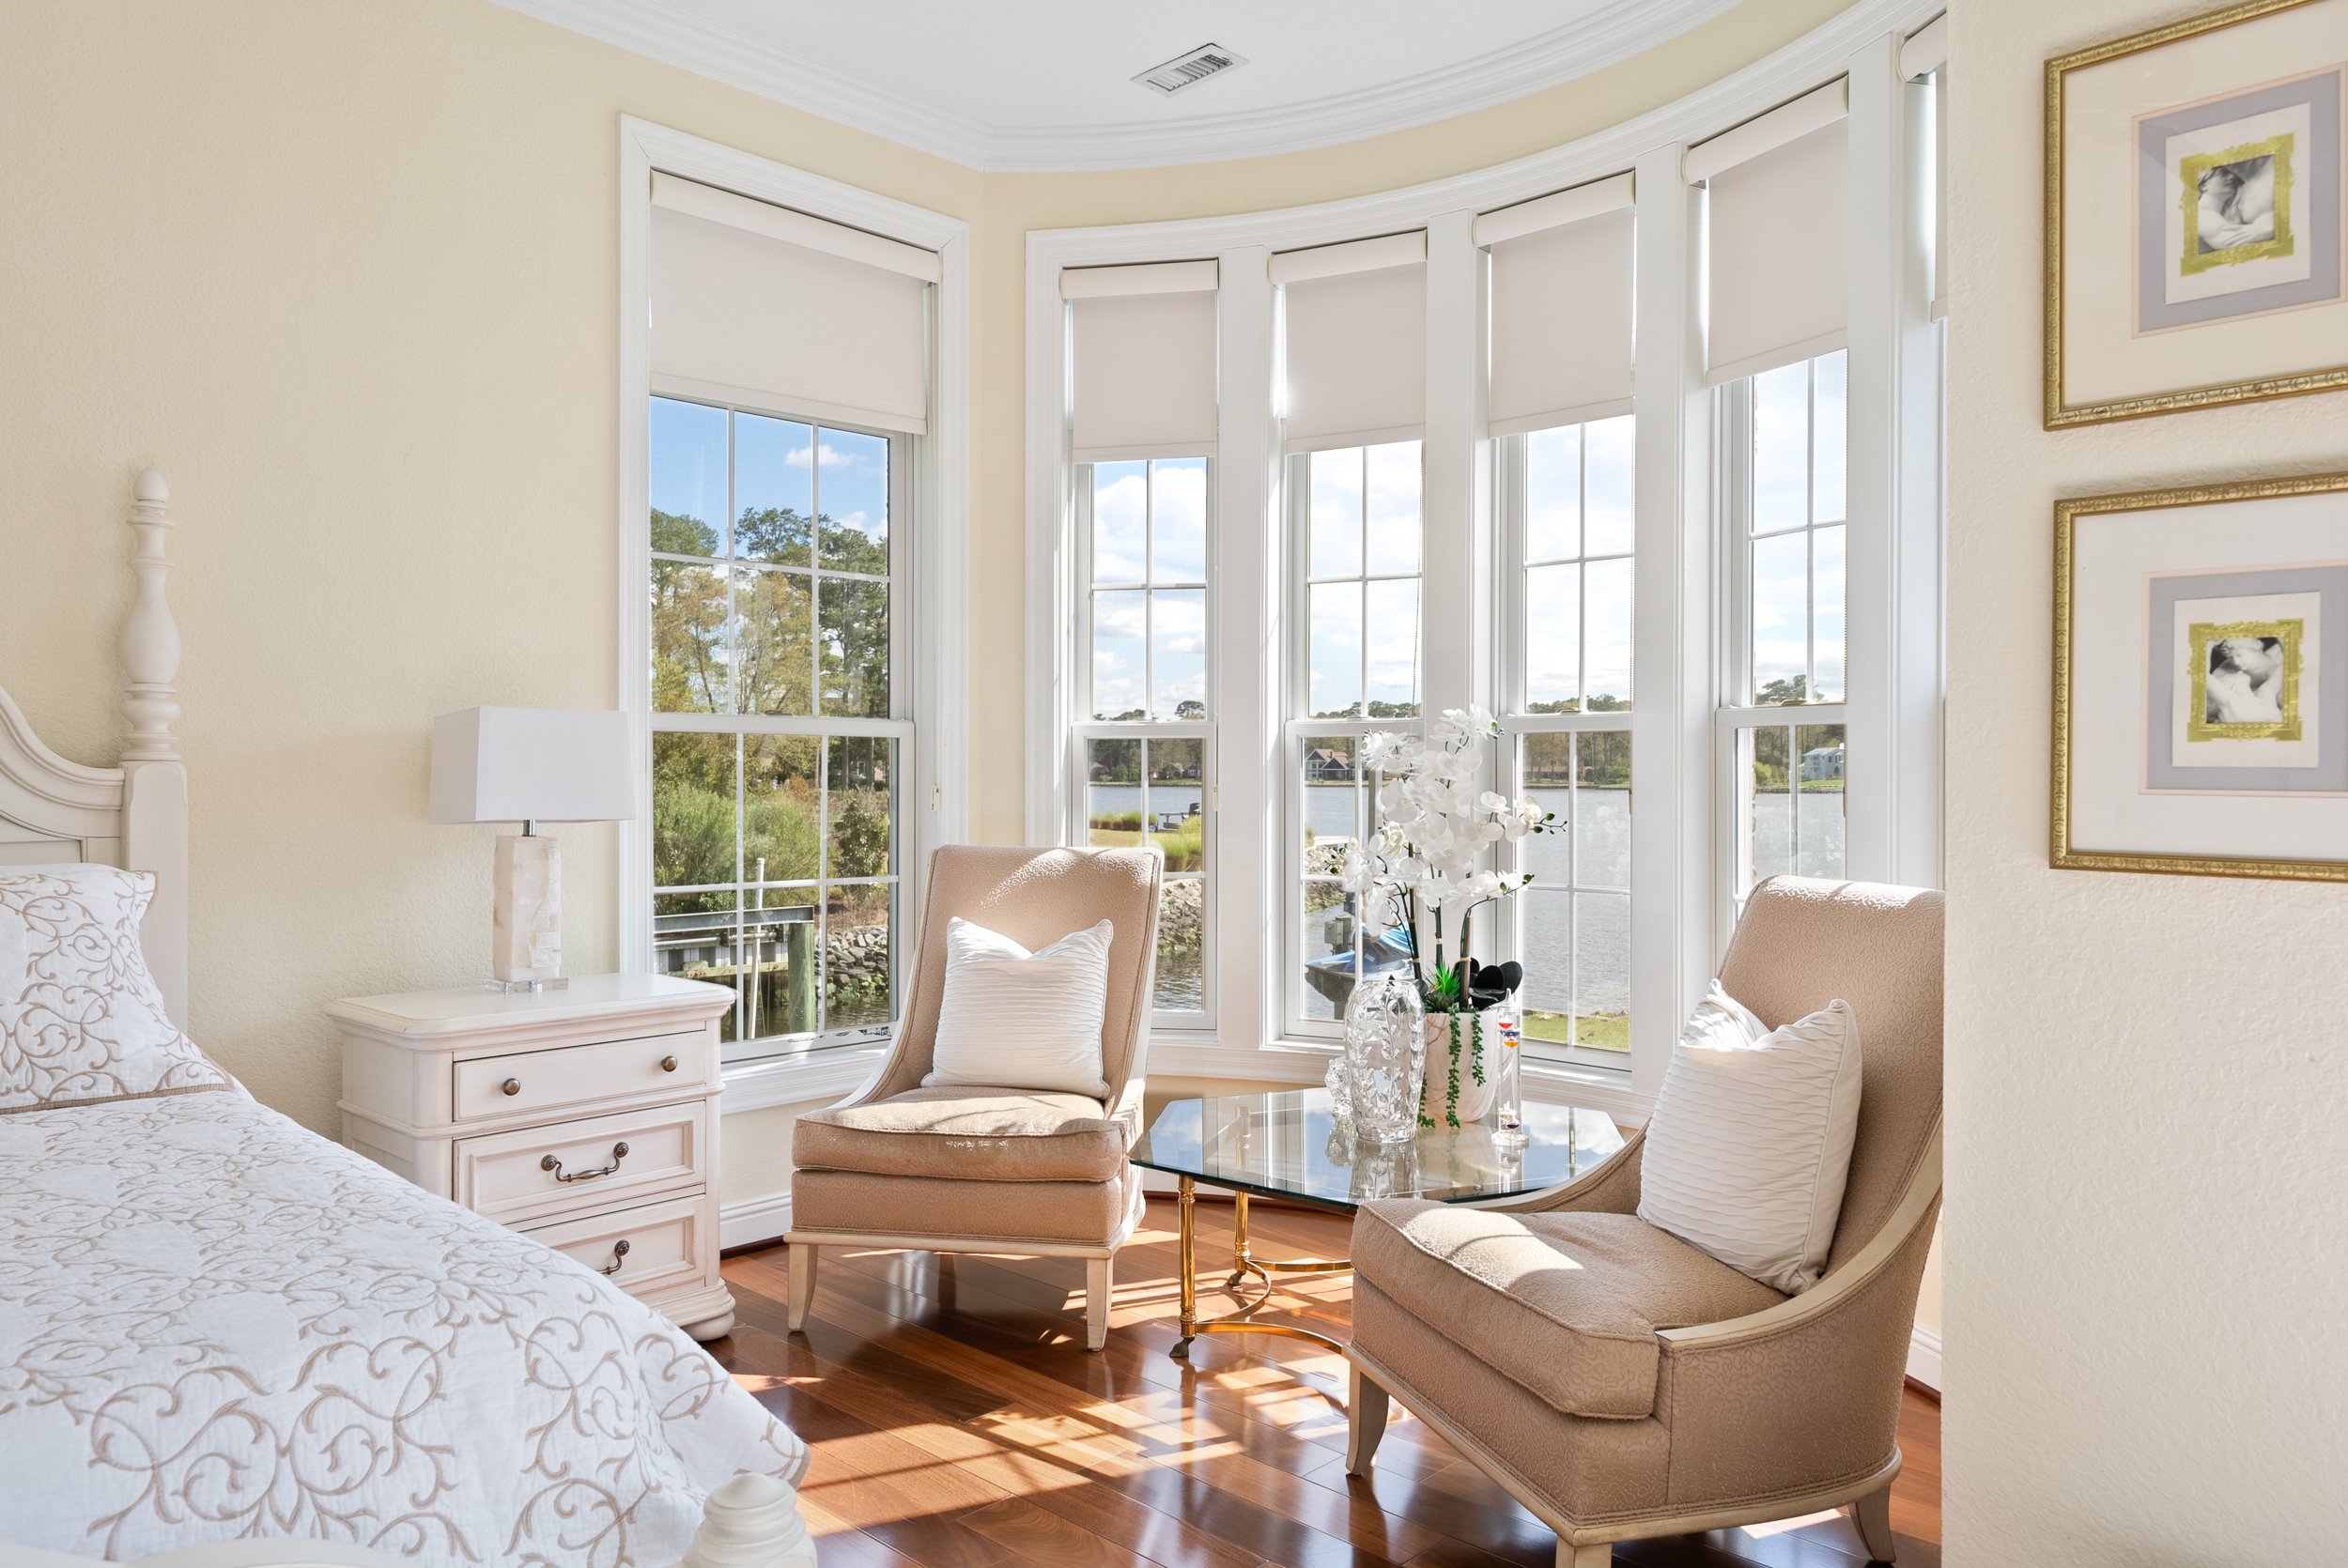
Accurate Representation: Natural light provides an authentic representation of the property, allowing potential buyers to see the home as it truly is. Unlike artificial light, which can cast harsh shadows and alter colors, natural light maintains the integrity of the space's true appearance.
Enhances Features: Sunlight can highlight architectural features, textures, and colors, making them stand out. This can be particularly effective in showcasing the unique selling points of a property, such as intricate moldings, hardwood floors, or stone countertops.
Mood Setting: The right lighting can set the mood and evoke emotions, making spaces feel cozy and welcoming. Natural light can create a warm, inviting atmosphere that appeals to buyers on a subconscious level, potentially influencing their decision-making process.
Best Times for Natural Light Photography
The time of day plays a crucial role in the quality of your real estate photos. Different times offer varying qualities of light, each suitable for specific types of shots. Here's when you should plan your shoots for optimal lighting.
Golden Hour
The golden hour occurs shortly after sunrise and before sunset. During this time, the light is soft and diffused, creating warm tones and long shadows. This is ideal for capturing exterior shots, as the property will be bathed in a flattering, golden glow. The gentle light can soften the appearance of the building, highlighting its features without casting harsh shadows.
Photographers love golden hour because it provides a magical quality that enhances the emotional appeal of a photo. The warm tones can evoke feelings of comfort and tranquility, which are desirable in real estate images. Planning your exterior shoots during this time can also help in capturing vibrant skies that add to the overall composition.
Midday
While the midday sun can be harsh, it's often the best time for interior shots. The abundance of light streaming through windows can illuminate rooms, reducing the need for artificial lighting. Midday light is intense and direct, which can be advantageous for capturing well-lit interiors where shadows are minimized.
However, it's important to manage the intensity of the light to prevent overexposure. Using sheer curtains to diffuse the light or positioning yourself to avoid direct sunlight on reflective surfaces can help. This time of day is perfect for showcasing the brightness and openness of a space, making rooms appear larger and more inviting.
Overcast Days
Don't shy away from shooting on overcast days. The clouds act as a natural diffuser, softening the light and minimizing harsh shadows, which is perfect for both interior and exterior shots. Overcast conditions provide even lighting, which is ideal for capturing detailed textures and subtle nuances in color.
These days can be particularly beneficial for photographing properties with large windows or glass features, as the diffused light reduces glare. The even lighting conditions can also enhance the mood of a property, making it look serene and calming. Overcast skies often bring out the richness in colors, providing a unique opportunity to capture the property in a different light.
Tips for Capturing High-Quality Images
Creating high-quality real estate photos involves more than just timing. Here are some tips to help you make the most of natural light in your photography. Understanding the technical aspects of photography and how to use them to your advantage is key to producing stunning images.
Choose the Right Equipment
While natural light is key, the right equipment can make a significant difference. Investing in quality gear can enhance your ability to capture clear, professional-looking photos that stand out.
Camera: A DSLR or mirrorless camera with manual settings is ideal. This allows you to adjust the aperture, shutter speed, and ISO to suit the lighting conditions. These settings give you control over the exposure and depth of field, which are critical for capturing well-balanced images.
Lens: A wide-angle lens is often preferred for real estate photography as it can capture more of the room in a single shot. This type of lens is particularly useful for photographing small spaces, as it can make them appear larger and more spacious.
Tripod: Using a tripod ensures stability, especially in low-light conditions, reducing the risk of blurry images. A tripod allows for longer exposure times without camera shake, which is essential for capturing sharp, detailed images.
Adjust Camera Settings
For the best results, manually adjust your camera settings. Knowing how to properly configure your camera can greatly enhance the quality of your photos.
Aperture: Use a small aperture (high f-stop) to ensure a wide depth of field, keeping everything in the shot sharp and in focus. This is especially important in real estate photography, where you want all elements of a room to be clear and detailed.
Shutter Speed: A slower shutter speed can help capture more light, but be sure to use a tripod to avoid camera shake. This setting is crucial for shooting in low-light conditions, such as during overcast days or interior shots.
ISO: Keep your ISO low to reduce noise in your images. High ISO settings can introduce graininess, which detracts from the clarity and professionalism of the photo.
Composition Matters
The composition of your photos can make or break the final result. Thoughtful composition can enhance the storytelling aspect of your images, drawing viewers in and keeping their attention.
Rule of Thirds: Use the rule of thirds to create balanced and visually appealing shots. Position key elements along the grid lines or at their intersections. This technique helps in creating a sense of harmony and balance in your photos.
Leading Lines: Use architectural lines within the property to guide the viewer's eye through the image. Lines can lead viewers to focal points or direct them through the space, making the image more engaging.
Declutter: Ensure the space is tidy and free of unnecessary items. This helps focus attention on the property itself. A clean, clutter-free environment allows the architectural features to shine, making the space appear larger and more inviting.
Enhancing Images with Post-Processing
Post-processing can elevate your real estate photos, enhancing colors and details. Editing allows you to refine your images, ensuring they look their best and accurately represent the property.
Basic Editing Techniques
Brightness & Contrast: Adjust brightness and contrast to ensure your images are clear and vibrant. Properly balanced images are more appealing and can better capture the viewer's attention.
White Balance: Correct the white balance to ensure accurate color representation. This is important to portray the true colors of a space, which can be altered by different lighting conditions.
Sharpening: Use sharpening tools to enhance details and textures in your images. Sharper images appear more professional and can highlight important features of a property.
Advanced Techniques
For those familiar with editing software, consider using more advanced techniques. Advanced post-processing can bring a professional polish to your images, making them stand out even more.
HDR Photography: Combine multiple exposures to create a single image with a greater range of tones. HDR can capture the full dynamic range of a scene, preserving details in both highlights and shadows.
Perspective Correction: Correct distortions caused by wide-angle lenses to ensure straight lines and accurate proportions. This correction is crucial in real estate photography, where accurate representation of space and form is essential.
Incorporating Drone Photography
Drone photography offers a unique perspective that can set your real estate images apart. Aerial shots provide a comprehensive view of the property and its surroundings, offering potential buyers a broader context.
Benefits of Drone Photography
Aerial Views: Capture expansive shots of the property and its surroundings. This perspective is particularly beneficial for large properties or those with significant outdoor features.
Highlight Features: Showcase unique features like pools, gardens, and nearby amenities. Aerial images can emphasize the location's advantages, such as proximity to parks or beautiful landscapes.
Market Appeal: Differentiate your listings with eye-catching images that grab attention. Drone photography can create a sense of grandeur and scale, appealing to buyers interested in distinctive properties.
Tips for Successful Drone Shots
Plan Your Shots: Determine the angles and features you want to capture before launching the drone. Planning ensures you make the most of your flight time and capture the most impactful shots.
Check Regulations: Ensure you comply with local regulations regarding drone usage. Understanding the legal requirements and restrictions is essential to avoid fines and ensure the safety of your operations.
Use Optimal Settings: Adjust the drone camera settings to suit the lighting conditions and desired effect. Properly configured settings can enhance the clarity and detail of your aerial shots, making them more compelling.
Conclusion
Natural light real estate photography is an art that requires practice and attention to detail. By understanding how to harness natural light, choosing the right equipment, and incorporating effective composition and editing techniques, you can create stunning real estate images that capture the essence of a property. These skills are crucial in producing images that stand out in a competitive market, appealing to potential buyers.
Whether you're shooting with a camera on the ground or capturing aerial views with a drone, these tips will help you produce high-quality, impactful real estate photos that stand out in the market. High-quality images can enhance a property's appeal, attracting more interest and ultimately leading to successful sales. Now, grab your camera and start shooting, confident in your ability to capture the beauty and essence of any property.
Ready to Transform Your Listings with Breathtaking Natural Light?
Don't let poor lighting cost you views, showings, or offers. America Real Estate Media specializes in harnessing natural light to capture stunning, inviting images that sell properties faster and for top dollar. Stop struggling with shadows and phone pics – [Get Your Professional Natural Light Photography Quote Today!]